Anyone teaching their craft for the first time soon discovers an uncomfortable truth: knowing how to do something and knowing how to get eight people to do it within a set time are two different skills. The minute-by-minute run sheet is the tool that bridges that gap. It isn't there to cage your spontaneity, but to free it: when you know exactly what happens and when, your mind is free to focus on people.
And yet it's one of the most overlooked tools among beginners: you rely on instinct and your own expertise, only to find yourself halfway through with half the programme still to go and participants checking the clock. A run sheet takes nothing away from the experience or from your natural ease: it's the invisible scaffolding that lets them hold up. Build it once and it works for you at every session, refining itself with practice.
Why a run sheet changes everything
Without a run sheet, the most common risk is mismanaging your timing: you linger over the introduction and then rush through the hands-on part, the very thing participants paid for. A written outline lets you spot in advance whether a step is taking too long, prepare your materials in the right order, and forget nothing when all your attention is on the people in front of you.
The four-stage structure
Almost all well-run craft workshops follow, whatever the discipline, a sequence of four moments. The minutes suggested below are a typical starting point for a session of a couple of hours: adapt them to your own technique.
- Welcome and introduction: you greet people, introduce yourself, briefly explain the craft, and show the concrete goal of the day (the object they'll take home).
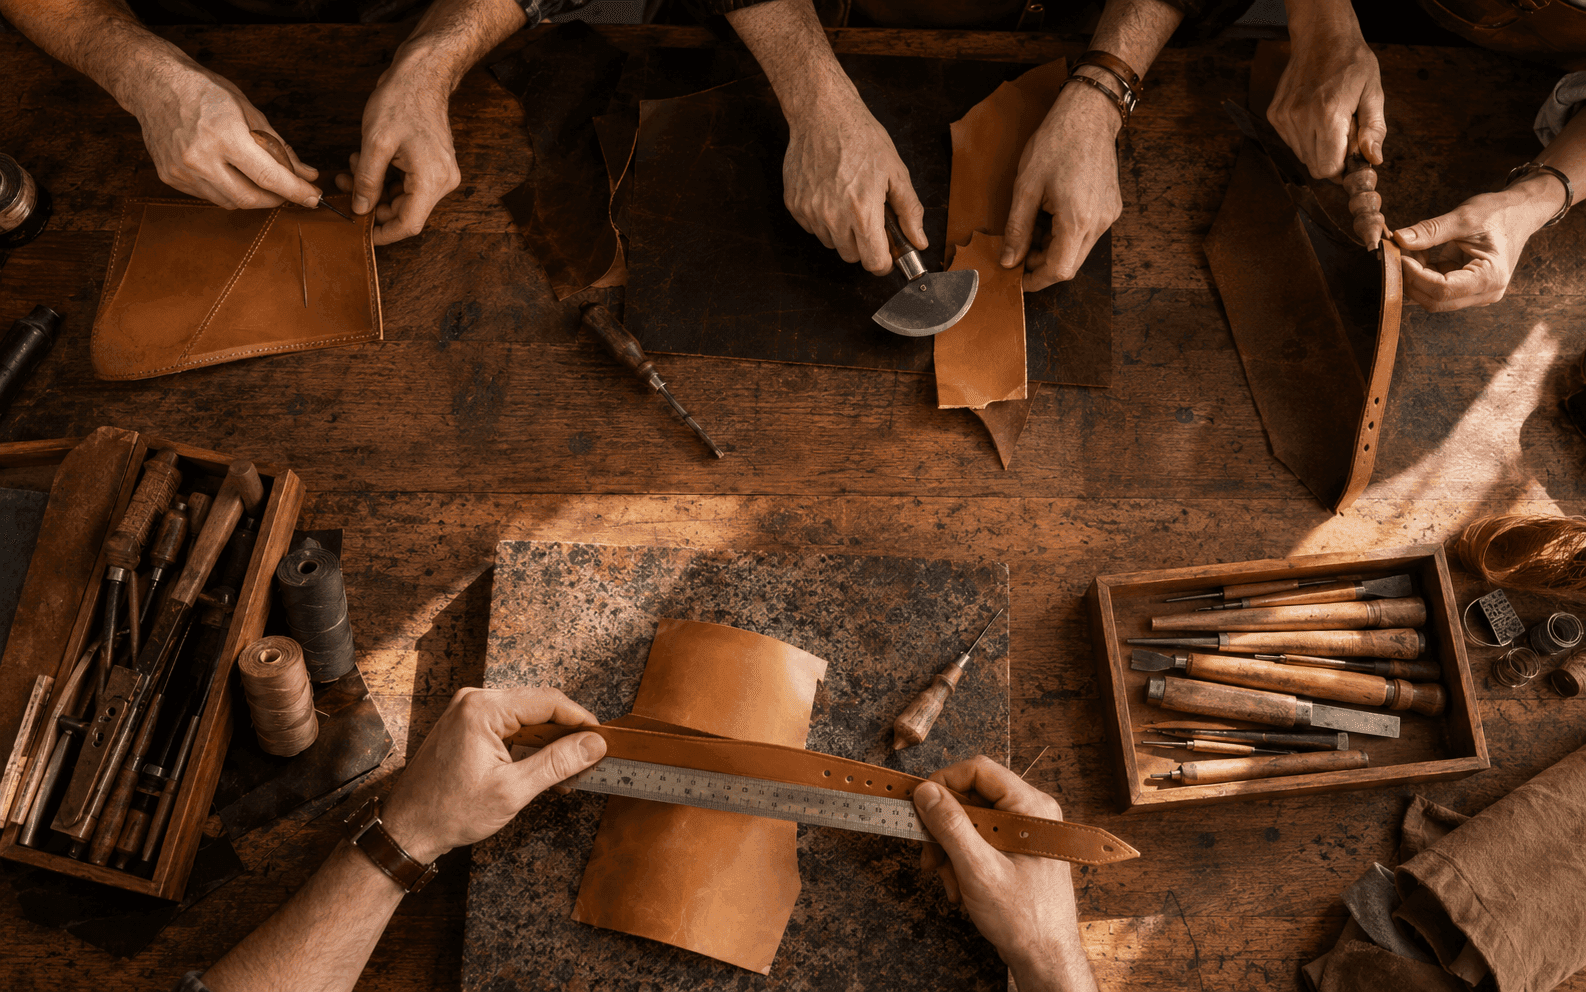
- Demonstration: you show the key move yourself, slowly, explaining the critical steps and the mistakes to avoid. This is when participants understand 'how it's done' before trying it themselves.
- Guided practice: the central and longest part. Participants work, you move between the benches, correcting and encouraging. This is where the real value of the experience lies.
- Finishing, wrap-up and collection: the object is completed, you gather impressions, and explain how to care for it at home (or how and when it will be shipped if it needs firing or drying).
The secret is in the proportions: guided practice should take up by far the biggest slice. Welcome and demonstration are there to set the stage, but if they eat up too much time they squeeze the very part people paid for — making something with their own hands. A handy rule: if you notice you're talking more than participants are working, something in the balance of the run sheet needs shifting in favour of practice.
How to work out realistic timings
The most reliable way to estimate timings isn't to imagine them, but to measure them. Do the whole project at home with a stopwatch, then apply two corrections:
- A beginner takes far longer than you to perform the same move: for the practice part, allow noticeably more time than your own.
- In a group, timings stretch out: questions, different paces, small unexpected hitches. The more people there are, the more margin you need.
The most common timing mistakes
Knowing the most frequent traps helps you avoid them right from the planning stage. They're almost always the same:
- Lingering on introductions and the opening theory: enthusiasm drops if it takes too long to get hands dirty.
- Underestimating setup and clean-up time between one phase and the next: they seem like 'dead' moments, but they exist and need to be factored in.
- Not allowing time for questions: beginners have plenty, ignoring them is frustrating but chasing every one with no limit makes you overrun.
- Crushing the finishing and collection: the final part, sacrificed to haste, is exactly the one that leaves the last impression.
The outline to keep at hand
Write the run sheet on a sheet of paper or on your phone and keep it visible during the session. For each block note three things: the start time, the action, and the materials that need to be ready at that moment. That third column is the one that saves you: prepare everything in advance, sorted by phase, so you never break the flow to hunt for a tool.
Domande frequenti
- How detailed should a run sheet be?
- Detailed enough to follow even on an off day, but not so much that it becomes a rigid script. Note the handover times between phases, the tricky points of the technique and the materials to have ready: leave the rest to your experience.
- What do I do if I fall behind during the workshop?
- Sacrifice the polished details first, not the central hands-on part: that's what people came for. Having a time buffer towards the end lets you absorb slowdowns without cutting into the experience.
- Should I show the run sheet to participants?
- Not in detail, but it's worth saying at the start what you'll do and how long it'll take: it builds confidence and manages expectations. Knowing the last half hour is set aside for finishing puts slower people at ease.
- Does every workshop need a different run sheet?
- The four-stage structure holds for almost all of them, but the minutes change with the discipline, the duration and the audience: a workshop for children will have shorter, livelier phases, an advanced one more practice and less introduction. Start from the outline and calibrate the timings to the specific case.
Create your free artisan profile on Handsome: publish your workshops and manage bookings, calendar and payments all in one place.
Publish your first workshop